

Can you cut led strip lights?
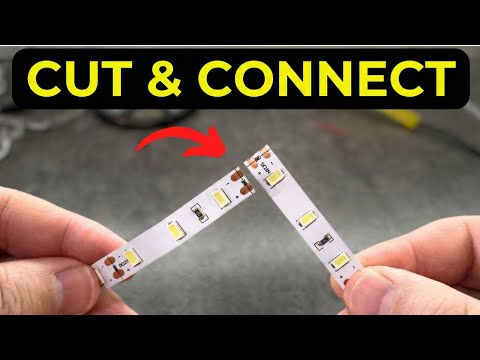
The short answer is yes—most LED strip lights are designed to be cut safely. However, cutting them incorrectly can permanently damage sections of the strip or prevent them from working.
The Short Answer
Most LED strip lights can be cut, but only at designated cutting points marked by the manufacturer.
These cut points are usually identified by:
- A scissors icon
- A dotted line
- Copper solder pads
- Printed cut lines
If you cut anywhere else, you may damage the electrical circuit and ruin part of the strip.
How LED Strip Lights Work
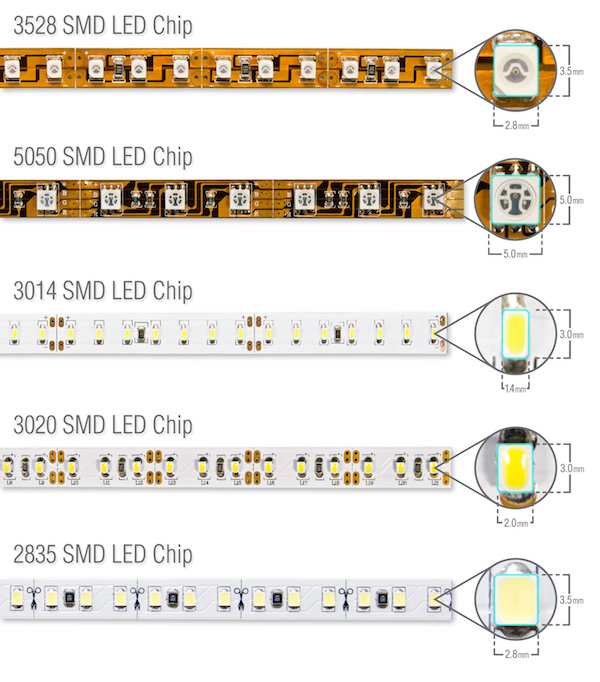
LED strip lights consist of small lighting circuits connected along a flexible printed circuit board (PCB).
Each section contains:
- LEDs
- Current-limiting resistors
- Copper power traces
- Connection pads
Manufacturers divide the strip into independent segments so each piece can continue working after being cut.
smpspower
Where Can You Cut LED Strip Lights?
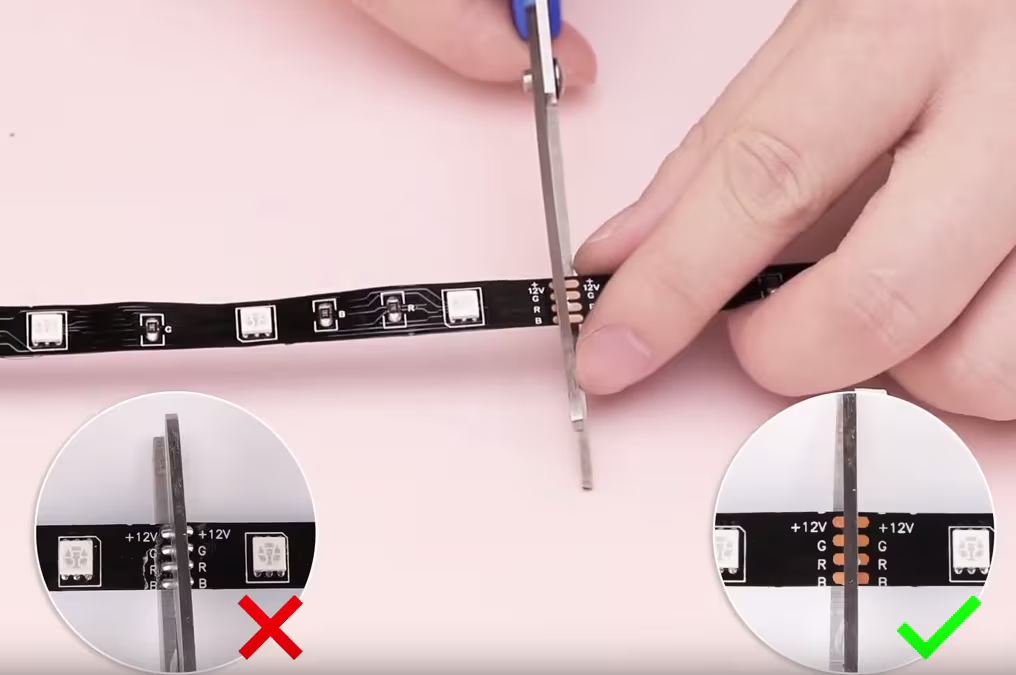
Always cut exactly on the marked cutting line.
Typical examples include:
- Between copper pads
- At the scissors symbol
- Along printed dashed lines
Never cut:
- Through an LED
- Through a resistor
- Across circuit traces
- Randomly between components
How Often Can LED Strip Lights Be Cut?
The cutting interval depends on the strip’s voltage.
5V LED Strips
Usually every:
- 1 LED
- 2 LEDs
These offer the most flexibility.
12V LED Strips
Typically every:
- 3 LEDs
This is the most common household LED strip.
24V LED Strips
Usually every:
- 6 LEDs
Longer segments help reduce voltage drop.
Addressable LED Strips
Examples include:
- WS2812B
- SK6812
- WS2815
Some can be cut after every LED, while others require specific intervals.
Always check the manufacturer’s specifications.
Tools You’ll Need
Before cutting, gather:
- Sharp scissors
- Measuring tape
- Marker (optional)
- LED strip connectors (optional)
- Soldering kit (optional)
- Wire cutters
- Heat shrink tubing (optional)
How to Cut LED Strip Lights
Step 1: Disconnect Power
Always unplug the strip before cutting.
Never cut while electricity is flowing.
Step 2: Measure Carefully
Measure the installation area.
Double-check your measurements before making the cut.
Step 3: Locate the Cut Mark
Find:
- Scissors icon
- Copper pads
- Printed cut line
Only cut here.
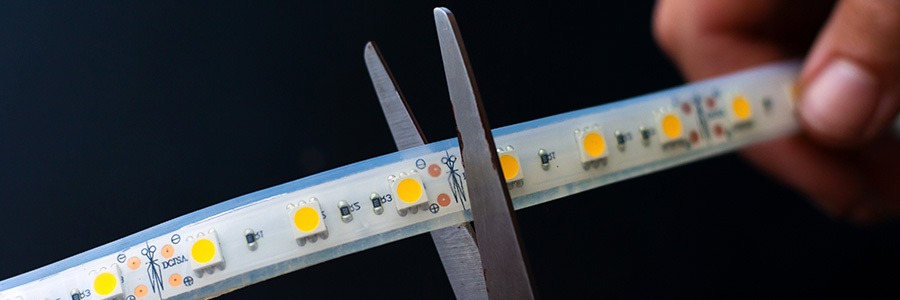
Step 4: Make a Straight Cut
Use sharp scissors.
Cut directly through the center of the marked line.
Avoid jagged edges.
Step 5: Test the Strip
Reconnect power.
Verify that:
- Remaining strip works
- New section lights correctly
- No flickering occurs
What Happens After Cutting?
Usually:
- The section connected to power keeps working.
- The removed section can often be reused with a compatible power connection.
- Both pieces remain functional if connected properly.
Can You Reconnect LED Strip Lights?
Yes.
There are two common methods.
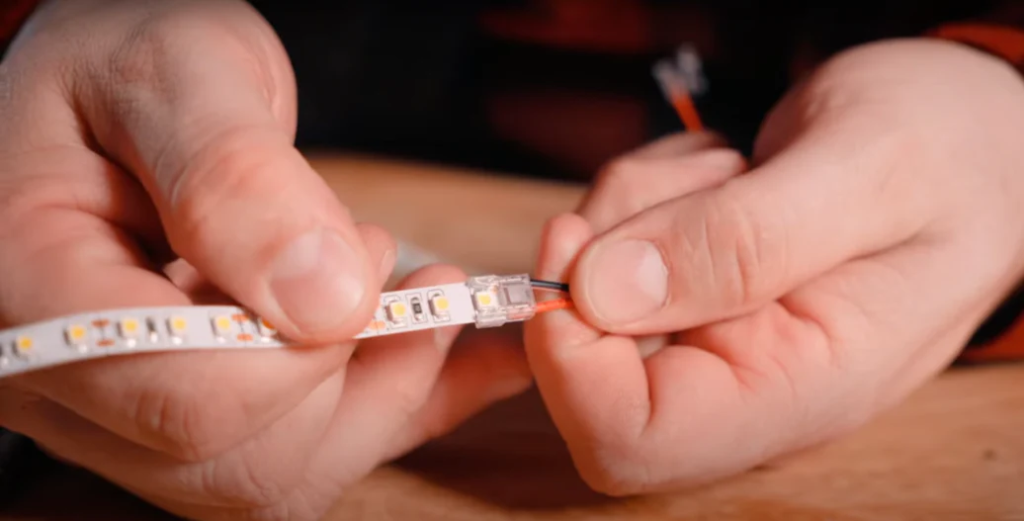
1. Clip-On Connectors
Advantages:
- No soldering
- Beginner-friendly
- Fast installation
Disadvantages:
- Slightly less reliable
- Can loosen over time
2. Soldering
Advantages:
- Strongest connection
- Most reliable
- Better for permanent installations
Disadvantages:
- Requires soldering skills
- Takes more time
Can You Cut Waterproof LED Strips?
Yes.
However, you’ll need to:
- Cut only at marked locations.
- Remove waterproof silicone around the cut if necessary.
- Reseal the exposed end with:
- Silicone sealant
- Waterproof end caps
- Heat shrink tubing
Otherwise, moisture may damage the strip.
Can You Use the Leftover Piece?
Usually yes.
You’ll need:
- Compatible power supply
- Connector or soldered wires
- LED controller (for RGB or smart strips)
The leftover section won’t light up by itself unless connected to power.
Can You Extend LED Strip Lights After Cutting?
Yes.
You can reconnect pieces using:
- Extension wires
- Corner connectors
- Flexible jumper cables
- Soldered wire connections
Keep polarity correct:
-
- –
- R
- G
- B
- W
depending on the strip type.
Common Mistakes to Avoid
Cutting Between Marks
This may permanently damage the strip.
Using the Wrong Power Supply
Voltage must match the strip.
Examples:
- 12V strip → 12V power supply
- 24V strip → 24V power supply
Reversing Polarity
Incorrect wiring can prevent the strip from working or damage certain controllers.
Forgetting Waterproof Sealing
Outdoor strips need resealing after cutting.
Pulling on Connectors
Loose connections often cause flickering.
Can You Cut Smart LED Strip Lights?
Yes.
Brands such as:
- Philips Hue
- Govee
- Nanoleaf
- TP-Link Tapo
generally include marked cut locations.
However, some smart features or lighting effects may behave differently after shortening the strip, so it’s best to follow the manufacturer’s instructions.
PROS AND CONS of Cutting LED Strip Lights

Pros
- Leftover sections can often be reused
- Easy DIY project
- Less wasted lighting
- Cleaner installation
- Reduces excess cable
- Custom fit for any space

Cons
- Incorrect cuts can ruin sections.
- Some smart strips have limited extension options.
- Reusing leftover pieces may require additional accessories.
- Waterproof strips require resealing.
Who Should Cut LED Strip Lights?
Cutting is ideal for:
- Homeowners
- DIY enthusiasts
- Renters
- Cabinet lighting installations
- Shelving projects
- TV backlighting
- Gaming setups
- Kitchen lighting
- Stair lighting
- Office lighting
Even beginners can usually complete the task successfully by following the marked cut lines.
READ ALSO: Are led strip lights a fire hazard?